If you’re ready to take your journaling to the next level, read on to learn how art journaling can transform your journaling practice from tired to inspired.
For an experienced journaler, starting your first art journal feels like the moment when the tornado drops Dorothy’s house in Oz, she opens the door, and she steps out of her black and white world into a new, magical technicolor world.
A mixed media art journal eliminates the confining lines across the page, rejects the binary of white page/black ink, and allows you to introduce creative magic that goes well beyond the simple addition of color.
Contents
Art Journaling Basics
The Rules
The first rule of art journaling is that there are no rules of art journaling.
Just kidding. The first rule of art journaling is always let the pages dry thoroughly before you close your notebook.
The second rule of art journaling is that there are no other rules of art journaling. So let your creative process be free!
Location
It’s essential to choose the right location for art projects. You are likely to make a mess, and you may need to leave your journal out for a while to dry. That means you should avoid art journaling on expensive antique wooden desks or in high-traffic areas like the kitchen table.
Ideally, you will have a designated art studio area where you can create a harmonious and aesthetically inspiring environment, surrounded by your collection of art supplies, and be as messy as you want. However, if you don’t have a space like that, you can always make do with what you have.
For example, you could spread newspaper over the dining room table to protect it while you’re journaling. Then, move your open journal to the top of the refrigerator to dry, so the table is available for eating.
Containers
If you’re collecting supplies and ephemera, eventually, you’re going to need to come up with an organized way to store them. Fortunately, plastic bins in countless shapes and sizes are available at many stores now, from the art supply store to the home improvement store to the grocery store.
If you have a small apartment and you’re short on space to store your bins, try the wide shallow kind designed to fit under your bed.
Mixed Media Art Journaling Supplies
The Journal
Choosing a journal itself is the most important step in gathering your supplies. You can go with a fancy Moleskine if you’d like, but there are plenty of good options in any price range. Select a sketchbook with heavy-duty paper intended for watercolors or acrylic paint to avoid wrinkly pages. If you’re concerned about seeping, you can cover the page in gesso before you begin to create a strong foundation.
Size is another important factor. For example, if your art is mainly doodling and sketching, you might prefer a pocket-sized notebook for art-making on the go. On the other hand, if you think you’ll want to remove your favorite pages for display, a larger size will give you more flexibility.
Many art journalers prefer a spiral-bound notebook. These work well because they stay open when left laying out to dry (unlike stitched journals, which are more likely to close themselves or flip pages when you don’t want them to), and you can remove pages easily without damaging the journal or the page.
If you’re an ultra-DIYers, you can even make your own journal by binding pages together with brads or thread.
Pens and Markers
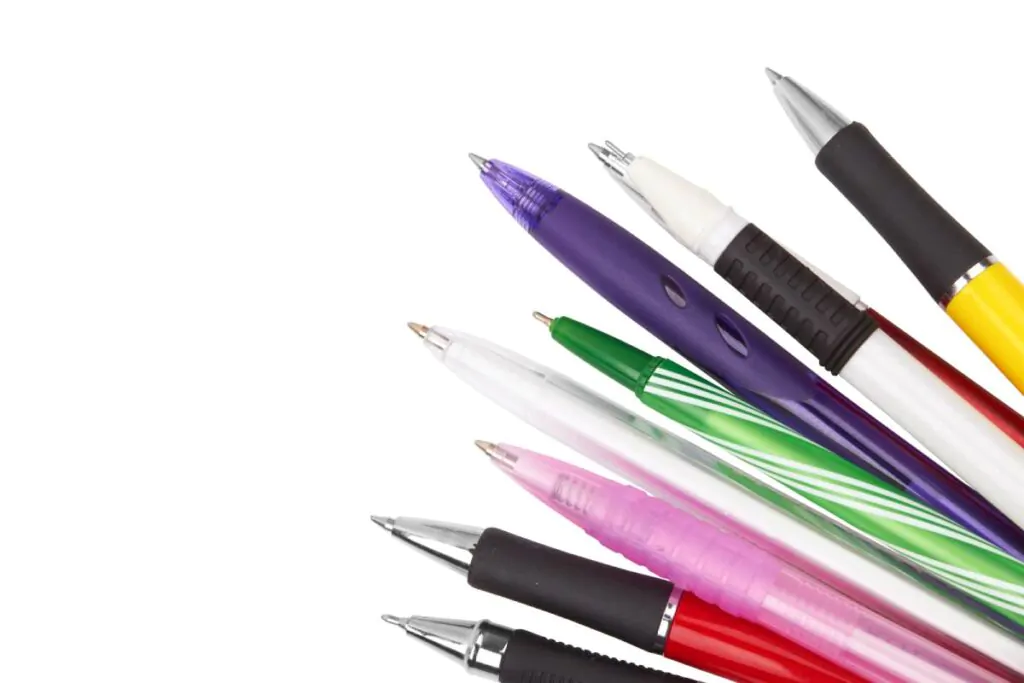
You can work with as little as a ballpoint pen, but let’s be honest. You aren’t getting into art journaling because you want to spend more time with a Bic in hand, not when there are so many great inking options out there.
Key factors to consider are that ideally, you want to use pens and markers that are waterproof, don’t smudge, or bleed through the type of paper in your journal. Paint pens are a popular choice.
Other Mediums and applicators
You can use any type of paint in an art journal, although most people avoid oils because of the extended drying time required. Acrylic paint, gouache paint, watercolor paint, alcohol inks, colored pencils, as well as pens and markers make great mediums to use in your art journal.
Of course, if you’re going to use paint, you’ll need a paintbrush or two (and maybe some palate knives for acrylic paint, if you like a lot of texture in your artwork). If you use watercolors, you might experiment with a water brush.
There are also a variety of household objects you can use as applicators for your paints and inks. A clean toothbrush is an excellent instrument for splatter-painting, especially creating stars. A kitchen or makeup sponge is a great tool for making backgrounds. You can make a stamp out of a cut-up potato or other household objects. Bottle caps, straws, bubble wrap, and other household objects also make fun applicators.
Ephemera
Start a collection of bits and bobs that you might eventually add to a page of your art journal. This could include glitter, stickers, and magazine cutouts, for example. I like to save the colorful mesh bags produce comes in. You can cut it up and glue it down on the page or lay it over the page and use it as a stencil.
Found objects are a great addition to mixed media. See a pretty flower or leaf while you’re out for a walk? Bring it home, dry it, and use it in your art. If you find a misplaced grocery list on the street, file it away.
You know those paper maps under your car seat that you haven’t used since GPS was invented? Add them to your stash. If you go to a concert that blows your mind, add the ticket stub to a journal page.
Spill coffee on a favorite book? Buy a new copy for your bookshelf and use pages from the damaged book for mixed-media backgrounds.
You may not always be able to predict how you’ll use a particular found object. Still, if you hold on to enough of them for long enough, moments of inspiration will arise. You’ll find yourself digging through your ephemera box, looking for that pretty striped feather you found on the beach, and realizing it would look perfect as the focal point of your latest composition.
Other Supplies
Consider methods for transferring designed images. For example, you might want to collect stamps and stamp pads, stencils, or gel printing plates.
Colorful washi tape often comes in handy, as do fabrics, ribbons, and string.
You’ll definitely want to collect cool sheets of paper that you can glue into the journal for background texture. This might include tissue paper, wrapping paper, hand-made paper from the craft store, pages torn from magazines or old books, etc. You might even save pretty packaging from consumer items.
The sky is truly the limit.
Electronic images
You may have seen professional mixed-media work made with beautiful non-original images, such as antique photographs, and wondered how they could get away with selling work containing images they didn’t create.
The good news is, there is an enormous supply of royalty-free images online, some of which require purchase, but many of which are free. Simply google “digital collage paper” or “royalty-free images,” and you’ll find a plethora of options.
Of course, if your journal is for your eyes only, there’s no problem with using magazine images or other copyrighted material. However, if you want to display or sell a page later, it’s essential to avoid using any copyrighted material.
Adhesives and Textural Mediums
If you’re using ephemera, magazine cutouts, glitter, loose paper, or a variety of other materials, you’re going to need some glue.
You can use a basic, familiar glue type like glue sticks or white school glue (such as Elmer’s), although the latter will cause rippling of some kinds of paper.
Acrylic gel medium is my preferred adhesive for most applications.
You can also use acrylic mediums (such as modeling paste or glass bead gel) to create textured underlays for your artwork. Golden has a wide range of mediums available. I particularly enjoy using their pumice gel for a gritty texture.
You can also combine acrylic gel with other substances to create textured mediums. For example, try mixing acrylic gel with uncooked rice, coarse sand, yarn fibers, or other substances to create your own textured medium.
While Mod Podge has many good applications, you should avoid it for art journals. It has a somewhat tacky finish that may result in journal pages sticking together.
Art Journaling Techniques to Try
Start With The Background
You’ve bought the perfect journal, you’re sitting at your crafting table, surrounded by a treasure trove of supplies, and all you can do is stare at the blank page, stuck. Often starting is the hardest part of art journaling, especially before you’ve made it a habit.
The great thing is, creating a background doesn’t require a ton of inspiration, but it can generate inspiration. Start by sponge-painting several layers in different colors to create a color palate. Or create a background by gluing on various papers to create a completely abstract collage.
Then let the background suggest the subject. Usually, you’ll want to let the background dry before you work on the foreground, which will give you plenty of time to look a the background and wait for inspiration to strike.
Layer Layer Layer
One of the most important techniques in mixed media artwork is the art of layering. Sometimes this means multiple layers of the same type of medium (such as a textured foundation created with acrylic medium, overlaid with an acrylic sponge painted background, topped with a realistic image painted in acrylics).
However, a big part of what makes mixed media so much fun is mixing mediums. Try creating a painted background, gluing torn strips of beautiful paper on top of that, and finishing it with stamps and ephemera.
Consider Composition
Art journaling can be totally freeform, but you can also work within some of the classical rules of composition. For example, consider your focal point or focal points. What about the image is most attractive to the eye? How will the arrangement of focal points affect the way the viewer’s eye moves across the page?
Another example is the Rule of Thirds. As in any composition, it can help to imagine a tic-tac-toe grid overlaid on your artwork. Placing particular objects or images on those lines or at the intersections of the lines means they will draw the eye more naturally.
Don’t Forget the Words
Of course, you are not required to write in your art journal. If you feel like expressing yourself purely in images, that is perfectly fine. However, many people enjoy integrating writing into their art journals. This could take several forms.
You could use words very sparingly. For example, you might have a few stamps or stencils with words or phrases that inspire you. You could clip words out of magazines or books. You could use an entire page from a book as a neutral background or bring it to the foreground as the basis for a redaction poem (a.k.a. blackout poetry).
You are also free to use your art journal to write narrative journal entries. So whether you want to keep notes on your daily activities, practice gratitude journaling, write stream of consciousness emotional dumps, document your dreams, make a note of inspiring quotations, or repeat a mantra or affirmations (anything from “I am good enough” to “F*ck cancer”), you can integrate that writing into an art journal.
Try a Prompt
If you still aren’t sure where to start, you can use any journaling prompts meant for a regular journal. Or try one of these art journal-specific prompts:
- Draw an object you can see from where you are sitting. Ideally, choose an unusual object or one that is a unique subject for a portrait.
- Choose a found object as a focal point and make up a story about the object’s life before you found it. Use art and words to communicate the story.
- Contemplate a particularly emotion-laden memory. How can you represent that event and your feelings about it nonverbally?
- Write a gratitude journal entry about someone in your life who is important to you, and decorate the page with a portrait of that person. It is for your eyes only, so it doesn’t matter if there’s a very good resemblance, as long as it expresses how you see them.
- Write something you used to believe about yourself but that you now know is a damaging lie across the page. Now cover those words partially, but not entirely, with an abstract background. Then, finally, write on top of the background an affirmation you have used to help you leave the negative old mindset behind.
The Bottom Line on Art Journaling
If you practice for long enough, you will undoubtedly create pages of artwork that you are proud of, but the truth is art journaling is more about the process than the product. So free yourself from the pressures of creating fine art for public consumption, and dive into the experimental, exploratory approach of mixed media.
FAQs About Art Journaling
What Are Some Of The Benefits Of Art Journaling?
Art journaling frees you from the constraints of an ordinary written journal, creating a space for unfettered self-expression. This has a variety of benefits for the artist.
For example, art journaling makes a great introductory step for people interested in learning to create visual art but are too afraid to take the emotional risk of producing a piece of artwork meant for public consumption. Nobody will see your art journal, so you can develop your artistic skills without fear of judgment.
It encourages the daily, or at least routine, practice of art-making. That will build your skills quicker than making one formal painting each month and not making art the rest of the month.
In addition, by collecting all of your artwork over a period of months, you can gain confidence by flipping back through the journal and seeing how much progress you’ve made.
The assembly of many art pages in one place will also help you identify and develop a personal artistic style by helping you see the common elements that tie your pages together. That could be specific images that form a motif (like Dali’s crutches and melting clocks), or color palettes that consistently speak to you, for example.
Apart from the artistic benefits, art journaling is self-care. It is a calming, soothing, even meditative activity that relieves stress and anxiety. It helps us shut off our “left brain” and exercise our intellect’s less rational, more intuitive parts. It allows us to get in touch with our emotions, even when we’re having trouble verbalizing them.
All in all, art journaling is an excellent strategy for developing better mental health and wellness, in addition to artistic skills.
What Do You Need For Art Journaling?
One of the best parts of art journaling is that you don’t need any more equipment than what you already have on hand. You could make a perfectly adequate art journal using the same ballpoint pen and spiral notebooks you use for regular journaling. Just add a “sketch a day” practice. Of course, that is the minimalist approach.
Art journaling is completely accessible to minimalists, but most people who practice it are more attracted to a maximalist mindset and aesthetic. Paint, glitter, stamps, stickers, magazine cutouts, and more can all be part of the process. Don’t be afraid to work with whatever you have on hand, but feel free to use art journaling as an excuse to build up your stash of art supplies of any kind.
Journaling Resources
Diary Vs Journal: What’s The Difference?
Adam Jelic interview, the creator behind MiGoals journals